If you're here for a clear Flux 1.1 prompt guide, you're probably like me: you need realistic AI images for marketing and you need the text to be right the first time. I test AI tools for designers and marketers every day, and Flux 1.1 has become a reliable part of my workflow, if I follow a tight prompt structure and a few guardrails. Below is my field-tested approach to getting AI images with accurate text, without wasting your afternoon on retries.
How Flux 1.1 Interprets Prompts in the Flux 1.1 Prompt Guide
Flux 1.1 prioritizes subject clarity first, then style, then environment. It handles concrete nouns and spatial relationships well, but it can drift on abstract adjectives if you stack too many. For text rendering, Flux 1.1 needs unambiguous instructions about exact wording, font character, placement, and contrast.
The official Flux GitHub repository provides technical implementation details that explain this behavior: Flux uses a transformer architecture that weights early tokens more heavily,.
What I've observed:
-
Keep the main subject and exact text within the first sentence. Flux gives early tokens more weight.
-
Use explicit layout terms: centered, top banner, bottom footer, left-aligned.
-
Limit style adjectives to 3–5. More than that? You'll see mushy detail and inconsistent text.
-
CFG (guidance) sweet spot: 3–6. Higher can overcook contrast and still won't fix spelling.
-
Steps: 20–28 for most photoreal tasks. I only push 30+ for product macro shots.
Long-tail note: If you're evaluating the best AI image generator for text, Flux 1.1 is strong when you give it decisive layout and text instructions, but not magical without structure.
Base Prompt Formula
Here's the base prompt formula I use to keep results consistent. I write it like a sentence, not a keyword soup.
[Subject] doing [action] in [environment], [lighting], [style], exact text: "..." [font vibe], [placement], [colors/contrast], [composition]
Plus settings I tend to start with:
-
Aspect ratio: match your output need (1:1 square posts, 3:4 posters, 16:9 banners).
-
Steps: 24
-
Guidance: 4.5
-
Seed: fixed for A/B testing
Example (poster):
A smiling barista presenting a takeaway coffee cup in a cozy cafe, warm window light, modern lifestyle photography, exact text: "FRESH BREW • TODAY ONLY", bold condensed sans, centered top banner, white text on deep coffee-brown, clean negative space.

Why it works:
-
"Exact text" tells Flux the literal string matters.
-
"Bold condensed sans" is a font vibe Flux understands.
-
"Centered top banner" pins the layout.
-
Contrast instruction prevents low-contrast, unreadable type.
I reuse this formula for realistic AI images for marketing, posters, thumbnails, packaging mockups, because it keeps the text and subject from fighting each other.
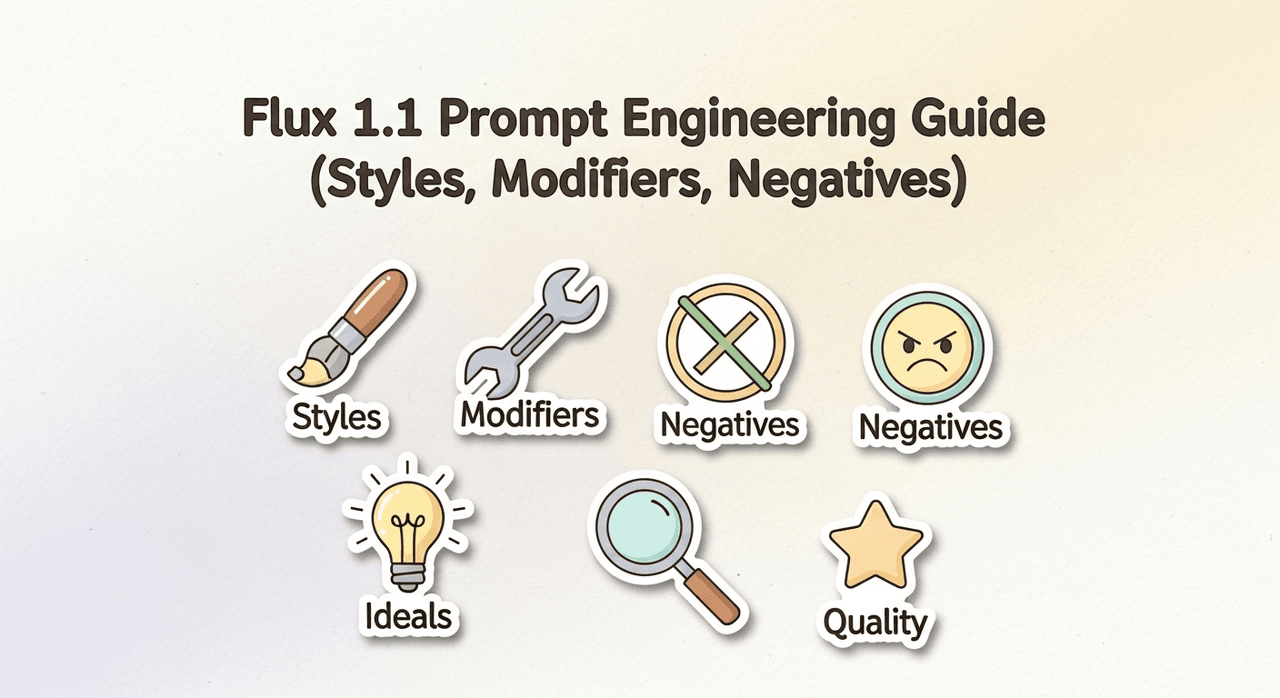
Essential Style Modifiers
These modifiers consistently nudge Flux 1.1 without derailing text accuracy:
-
Lighting: soft daylight, golden hour rim light, overcast window light, studio softbox, practical tungsten accents
-
Texture/detail: clean surfaces, minimal grain, realistic skin tones, subtle pores, product-grade reflections
-
Color/contrast: high-contrast type, limited palette, brand-safe colors, pure white background
-
Typography intent: bold grotesk, geometric sans, classic serif, monospaced tech feel, handwritten marker (use sparingly for legibility)
-
Composition cues: centered hero, top banner text, rule of thirds, copy-safe margins, white-space heavy
Caution:
-
Avoid stacking conflicting styles (cinematic + documentary + glossy ad). Flux 1.1 will average them and blur details.
-
If text matters, keep "handwritten" and "script" limited. It looks cute but often warps.
Long-tail drop-in: For AI tools for designers, these modifiers keep the brand look consistent across campaigns without rewriting your whole prompt.
Camera & Lens Terms
When I tested three lenses across product scenes, lens language changed how Flux framed type areas.
-
35mm, f/2.8, eye-level: Natural perspective, good for lifestyle ads with banners.
-
50mm, f/1.8, shallow DOF: Beautiful portraits, but can blur text. Use only if type sits on the focal plane.
-
85mm, studio f/8: Sharp product hero with space for clean typography.
-
Macro 100mm, f/11: Labels, packaging, and tiny print, best for legibility if you need micro text.
-
Top-down, 24–28mm, f/5.6: Flat lay comps with clear copy areas.
Include focus cues: "focus on the packaging label" or "text plane in focus." And ask for "no motion blur." That one line has saved me hours.
Negative Prompting Techniques in Flux 1.1
Flux 1.1 listens to negatives, but they work best when you pair them with precise positives.
Use negatives to protect text:
-
"no misspelled letters, no warped characters, no extra glyphs, no mirrored text, no overlapping letters"
-
"no low contrast text, no busy background behind text, no curved baselines"
-
"no watermarks, no signature, no random symbols"
And protect subject quality:
-
"no extra fingers, no deformed hands" for people
-
"no melted logos, no fake UI elements" for product/UI scenes
Pair with positives:
- "exact text: ‘SALE 50% OFF', high-contrast, straight baseline, uppercase, centered."
Reality check: negatives can't fix everything. If the base layout fights the text, I recompose rather than stack more negatives.
How to Debug Broken or Inconsistent Flux 1.1 Prompts
When the image is right but the text is wrong, I run this short checklist.
Freeze randomness
- Fix seed. Generate 4–8 variations changing one variable at a time.
Shorten the prompt
- First sentence: subject + exact text + placement. Move style to the second sentence. Flux pays attention to order.
Raise contrast and simplify background
- Add "solid background" or "clean gradient background." Complex bokeh hides letters.
Align camera with text plane
- If type is on a poster or label, say "text plane facing camera, perpendicular to lens."
- Adjust CFG and steps
- Drop guidance to 3.5–4.5 if letters look over-forced. Bump steps from 22 to 28 if edges are soft.
- Try a two-pass workflow
-
Pass 1: Nail composition and subject with minimal text.
-
Pass 2 (inpaint or img2img): Mask the text area and specify the exact string again. Seven minutes later, I usually have a production-ready banner.
- Know the limits
- Long paragraphs won't render clean. Keep to 2–6 words. For body copy, composite real text in design software. That's still the fastest path to AI images with accurate text.
Ready-to-Use Flux 1.1 Prompt Templates
Steal these and tweak.
1. Promo Poster (high legibility)
A young runner tying shoes at sunrise on a track, soft golden rim light, dynamic lifestyle photo, exact text: "SPRING RUN SALE", bold geometric sans, centered top banner, white text on navy, high-contrast, copy-safe margins. 35mm, f/4, eye-level. AR 3:4, steps 24, guidance 4.5. Negative: no misspelled letters, no busy background behind text, no curved baselines.
2. Product Label Macro
Stainless steel water bottle on matte backdrop, studio softbox, exact text: "HYDRA PRO 750ml", condensed sans, on-label, text plane in sharp focus, perpendicular to lens, high-contrast black on silver. Macro 100mm, f/11. AR 4:5, steps 28, guidance 4.0. Negative: no reflections over text, no warped characters, no extra glyphs.
3. YouTube Thumbnail
Smiling designer at desk with laptop, clean background, exact text: "FLUX PROMPT GUIDE", bold grotesk all caps, right-side text box, white on charcoal, strong drop shadow. 24mm, slight top-down, f/5.6. AR 16:9, steps 24, guidance 4.5. Negative: no watermark, no tiny text, no clutter.
4. Packaging Front Render
Minimal cereal box on seamless, soft studio light, exact text: "CRUNCH OATS", classic serif, centered, large, pure black on ivory. 85mm, f/8. AR 1:1, steps 26, guidance 4.2. Negative: no extra logos, no nutrition table, no barcode.
If you need speed and decent legibility, Flux 1.1 plus a two-pass inpaint is my current sweet spot. And if the campaign is typography-first, I still composite final copy in design software. Fast, clean, reliable.