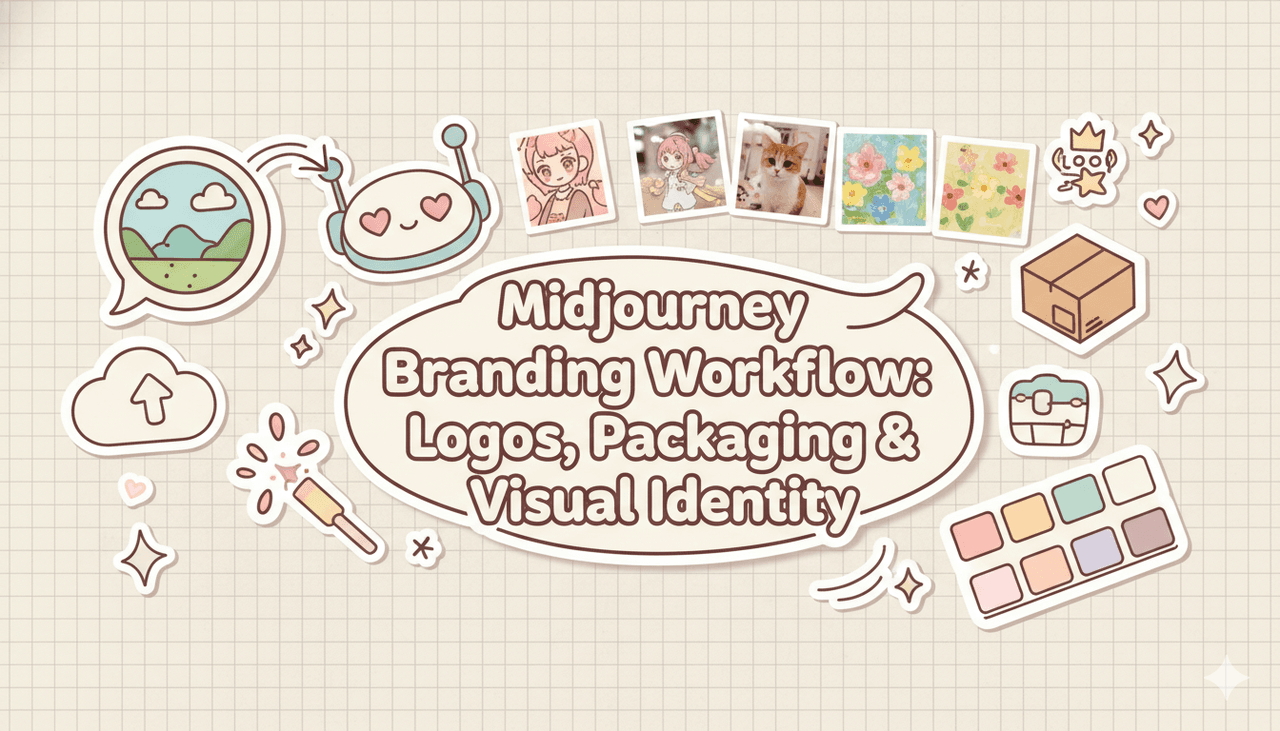
When I built my first serious Midjourney branding workflow, I was wasting over an hour per project just "prompt fishing." Cool images, zero usable assets. Once I treated Midjourney like a branding assistant instead of a magic art toy, everything clicked: consistent logos, packaging, and social assets in under a day.
Below is the exact workflow I now use for clients and my own projects. It's built for overwhelmed creators who need fast, photorealistic results with text that's accurate enough to refine later in vector tools.
Branding Basics (Do This First or Waste Hours)
4 Questions to Answer Before Any Prompt
Whenever I skip this step, my Midjourney logo workflow turns into chaos. Before I type a single prompt, I answer these four questions in plain text (one short line each):
1. Who is this for?
"Eco-conscious millennials buying specialty coffee," for example.
2. What's the core vibe?
2–3 adjectives: minimal, premium, playful, rugged, nostalgic.
3. Where will it most often appear?
App icon, packaging, billboard, Instagram, etc.
4. What must never happen?
"No childish mascots," "no script fonts," "no neon colors," etc.
I keep this as a mini creative brief right next to Discord. Almost every prompt I send pulls phrases from this list so Midjourney keeps circling the same idea instead of wandering.
Here's where it gets interesting… once those four answers are clear, the prompts practically write themselves.
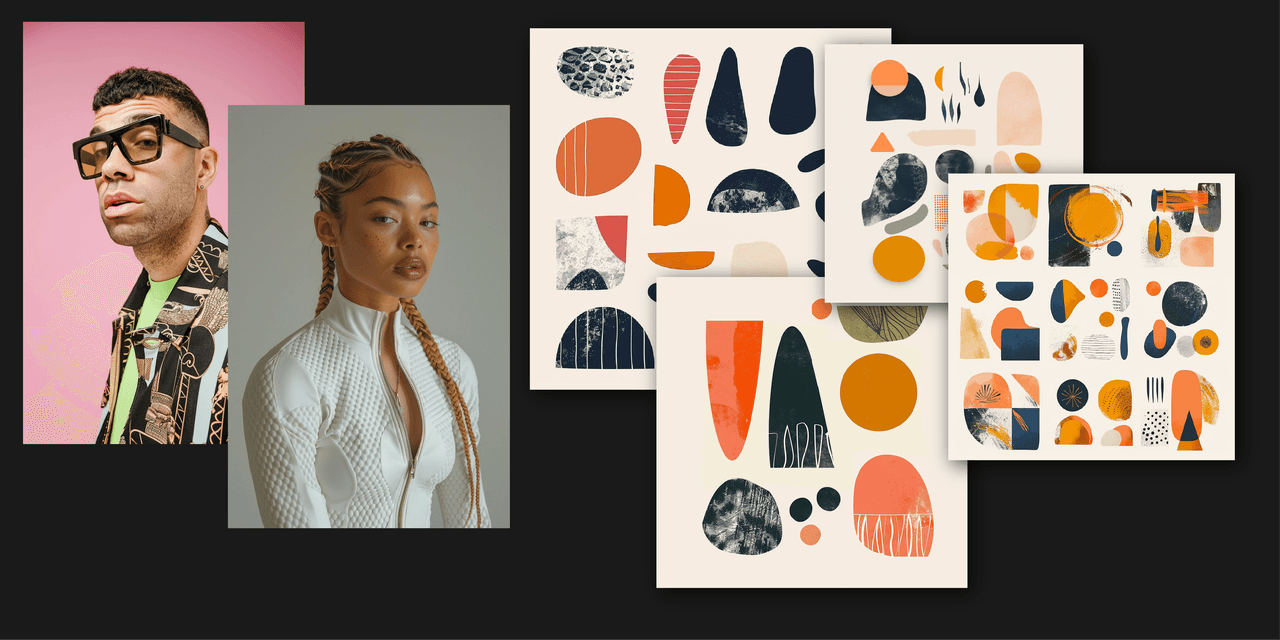
Moodboard → Prompt Cheat Sheet
I don't start cold. I grab 6–10 reference images from:
-
Existing competitors
-
Pinterest boards
-
Dribbble / Behance shots of logos or packaging I like
Then I do a quick reference analysis:
-
List 3–5 visual themes: "flat icon," "embossed foil," "matte bottle," "soft studio lighting."
-
Note colors I keep seeing: "muted earth tones," "high-contrast black & white," etc.
From that, I build a tiny prompt cheat sheet I'll reuse all project:
-
minimal flat icon logo, monochrome, negative space, centered composition
-
photorealistic studio lighting, soft shadows, 50mm lens, product photography
-
earthy muted palette, warm beige, soft olive, charcoal accents
Now, every Midjourney branding prompt becomes a mix of:
[target audience] + [vibe adjectives] + [cheat sheet phrase] + --ar 1:1 --style raw
This is how I keep branding runs consistent instead of chasing random cool styles.
Logo Creation – 100 Concepts to Final Mark
Best Logo Parameters (--style raw + --no tricks)
For logos, I keep Midjourney as "honest" as possible. --style raw is non‑negotiable in my Midjourney branding workflow because it:
-
Reduces over-stylizing
-
Gives cleaner shapes and better contrast
My baseline logo prompt looks like this:
modern minimal logo for [brand name], [vibe adjectives], single icon + wordmark, vector style, flat colors, --style raw --ar 1:1
If I want to reduce clutter, I'll add:
-
--no background
-
--no complex gradients --no photo
For concept exploration, I'll generate 4–8 grids (16–32 logos) in one go, then aggressively favorite only 5–8 into a separate Discord channel just for finalists.
6 Plug-and-Play Logo Templates
When I'm moving fast, I plug a brand into pre-baked templates so I don't rethink structure each time. Here are six you can copy and tweak:
1. Icon + Wordmark
simple geometric icon + clean sans serif wordmark, tech startup, minimal, --style raw
2. Badge / Emblem
circular emblem logo, vintage yet clean, bold condensed type, coffee brand
3. Monogram
interlocking [initials] monogram, luxury, high contrast, negative space
4. Mascot Mark
friendly illustrated mascot, flat shading, bold outline, kids brand
5. Lettermark
single stylized [letter], logomark, bold and simple, fintech, blue and charcoal
6. Wordmark Only
custom wordmark logo, subtle ligatures, editorial, fashion label
I run each template 2–3 times per brand. That alone gives me 50–100 usable directions in under an hour.
MJ Image → SVG in 2 Clicks
Midjourney still doesn't output true vectors, so I treat it as a concept generator and do final refinement elsewhere:
-
Upscale the chosen logo in Midjourney.
-
Download and open it in Illustrator, Figma, or Affinity Designer.
-
Use Image Trace / Vectorize (set to Black and White Logo or similar preset).
-
Clean anchor points, fix letterforms, and correct any text artifacts.
It feels like instantly finding all the matching pieces from a messy pile of LEGOs. Midjourney gives me shapes and ideas: the vector tool gives me control and true print-ready precision.
Packaging Workflow – Pro Mockups Fast
8 Ready Packaging Templates (Box, Bottle, Pouch)
Once I've locked a logo direction, I move straight into packaging with a separate Midjourney packaging mockups channel. My go‑to prompt skeletons:
-
cardboard mailer box, front view, product packaging mockup, studio lighting, --ar 3:2
-
stand-up pouch, matte finish, food packaging, front view, soft shadows
-
glass bottle with label, cosmetic branding, high-end, reflective surface
-
aluminum can, beverage branding, condensation droplets, dramatic lighting
-
folding carton box on white background, minimal design
-
pump bottle, skincare, frosted glass, bathroom tiles background
-
paper coffee bag, kraft texture, cafe environment
-
plastic tub with lid, ice cream packaging, vibrant colors
I drop in brand-specific details: logo style, color language, and any required elements like "organic label" or "nutrition info."
Photoreal Materials & Lighting Keywords
Photorealism is mostly about materials + lighting. When I need things to feel like a legit studio mockup, I add:
-
soft studio lighting, subtle reflections, 50mm lens
-
high-resolution product photography, shallow depth of field
-
Material cues like matte cardboard, embossed foil logo, frosted glass, satin plastic.
This combination makes Midjourney behave like a packaging photographer. I still expect to rebuild final dielines in Illustrator, but the client sees what feels like a real product on day one.
30-Second Smart Object Label Swap
Midjourney can't give layered PSDs, so I do a quick Smart Object hack-around in Photoshop or Photopea:
-
Generate a clean, mostly front-facing mockup in Midjourney.
-
Drop it into Photoshop, duplicate layer.
-
On the top layer, roughly mask just the label area.
-
Convert that masked area to a Smart Object.
-
Paste your final label design into the Smart Object: warp slightly to match perspective.
Now, swapping designs for variations (flavors, SKUs, languages) takes seconds. I keep Midjourney for the base photography look and handle precise label text and logos through the Smart Object.
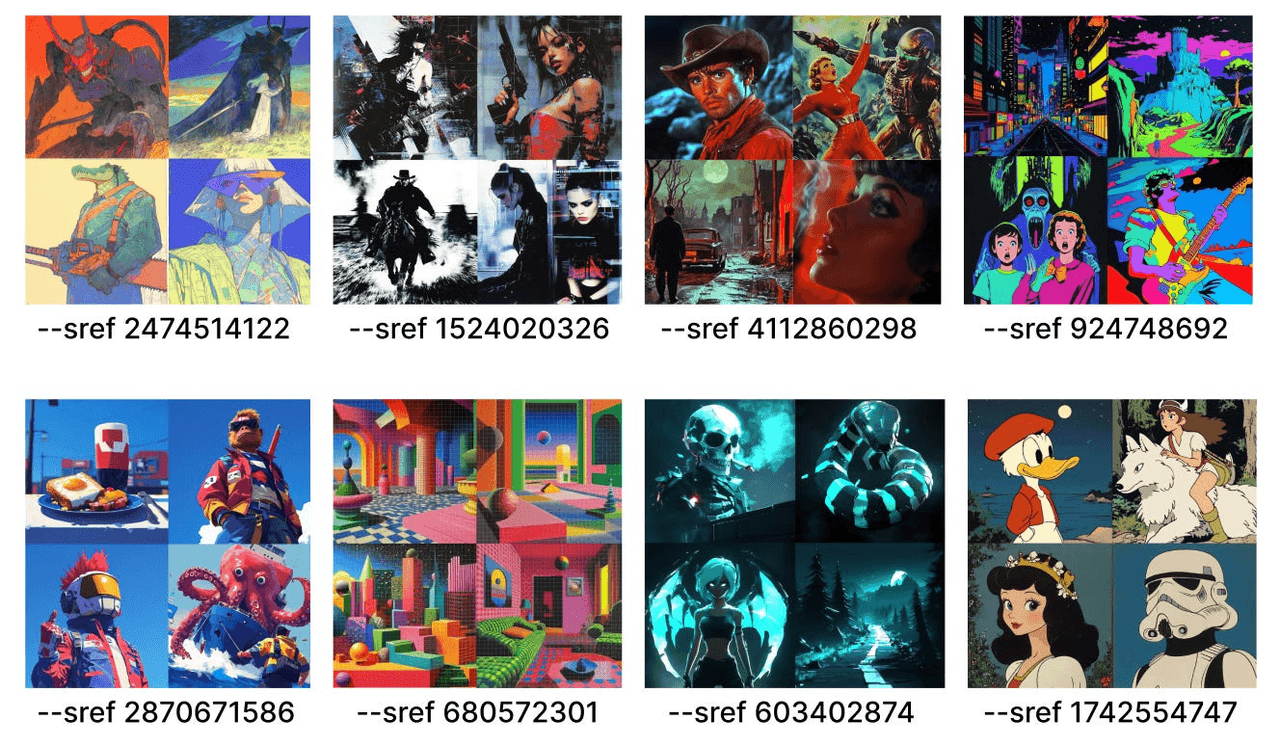
Style Matching & Brand Consistency
Lock Your Brand with One --sref Code
For consistent branding across lots of assets, I lean hard on style reference. Once I have a hero image or a main packaging shot I love, I:
-
Upload it to Midjourney.
-
Copy the image link.
-
Use it with --sref (style reference) in new prompts.
Example:
Instagram story for [brand], featuring [product], clean layout, --sref [image URL]
Suddenly, every new asset inherits the same lighting, textures, and overall mood. Here's where it gets interesting… using one strong style reference often does more for brand consistency than over-explaining the vibe in text prompts.
Build Full Asset Kit (Cards, Social, Icons)
From there, I batch out the whole asset system:
- Business cards:
minimal business card mockup, front and back, on textured paper, --sref [style]
- Social templates:
square social media post, product spotlight layout, bold typography, --ar 1:1 --sref [style]
- Icons / UI elements:
set of 12 simple line icons, consistent stroke, for [industry], --style raw
I usually export 2–3 variations per format, then clean typography and spacing in Figma. Midjourney gives the look: my layout tool ensures precision.
Auto-Extract Perfect Color Palette
To nail down the final palette, I:
-
Grab 2–3 of the strongest Midjourney images.
-
Drop them into coolors.co or Adobe Color.
-
Let the tool auto-extract a palette.
-
Manually simplify it to 3–5 brand colors:
-
1 primary
-
1–2 secondary
-
1–2 neutrals
Then I convert them to HEX/CMYK/RGB and lock them in a brand sheet. Even though Midjourney started the exploration, the final palette becomes fully reproducible everywhere else.
Exporting Assets for Clients & Print
Print-Ready Settings & DPI Checklist
Midjourney's images are screen-first, but they're still very usable in a print pipeline if I'm deliberate. My typical flow:
-
Upscale in Midjourney to the max size.
-
Bring into Photoshop: upsample if needed using Preserve Details or a tool like Topaz.
-
Set document to 300 DPI for print layouts.
-
Convert to CMYK and check for banding or weird color shifts.
I never treat the raw Midjourney output as final print art for logos or text-heavy elements, only as photography/illustration.
Folder Structure + File Naming Template
To avoid the "Where's the final?" drama, I use the same structure for every project:
- /01_LOGO/
brandname_logo_primary.ai
brandname_logo_secondary_horizontal.svg
- /02_PALETTE_TYPE/
Color and typography PDFs, style tiles
- /03_PACKAGING/
brandname_box_front_mockup.jpg
brandname_pouch_range.psd
- /04_SOCIAL_WEB/
brandname_IG_post_01.png
brandname_website_hero.jpg
I name Midjourney exports clearly, then overwrite with refined versions as I rebuild them in vector/layout tools.
Final Deliverable Package (4 Formats)
When I hand off to a client or a collaborator, I make sure they get:
-
Editable source: .ai, .fig, or .psd files with layers.
-
Vector logos: .svg and .eps for endless scaling.
-
Web-ready assets: optimized .png / .jpg at 72 DPI.
-
Brand PDF: quick guide with examples of the Midjourney-inspired images alongside final production-ready art.
That's my complete Midjourney branding workflow: start with a tight brief, explore widely inside Midjourney, then lock everything down in proper design tools. If you're wrestling with a specific brand or packaging scenario, tell me what you're building and I can help you tailor prompts and parameters to fit.