Last Updated: December 03, 2025 | Tested Version: Nano Banana 2 – Web UI v2.0
If you're tired of AI images with broken hands, warped faces, and text that looks like alien glyphs, Nano Banana 2 is the tool you've probably been hoping for. In this guide, I'll walk you through exactly how I use Nano Banana 2 to go from a blank prompt to clean, photorealistic images with readable text, without getting lost in settings.
AI tools evolve rapidly. Features described here are accurate as of December 2025.
Nano Banana 2 Overview: What This Tool Is and Why It Matters
Nano Banana 2 is a lightweight, web-based image generation tool built on modern diffusion models, designed specifically for creators who need fast, usable images instead of endless tinkering.
Where some image generators feel like piloting a spaceship, Nano Banana 2 strips things down to the essentials:
-
A prompt box that actually respects your wording.
-
Modes tuned for photorealism, graphics, and text-heavy layouts.
-
Sensible defaults, so you can get something portfolio-worthy in a few tries, not a few evenings.
For solo creators and small teams, that matters. You don't always have time to wrestle with parameters, your deadline cares more about the final asset than the model internals.
If you want to dig deeper into the underlying model family, you can check the Gemini model overview.
Key Features of Nano Banana 2 for Efficient AI Image Creation
Here's what stood out to me when I started using Nano Banana 2 for real projects:
-
Text-aware rendering – It's noticeably better than older models at producing legible titles, labels, and signage when you prompt clearly (for example:
"Magazine cover with title: CREATOR PLAYBOOK"). -
Preset style modes – Instead of hunting for magic words, you can switch between presets like Photo, Illustration, or Logo/Icon to bias the model's output.
-
Quality vs. speed toggle – Quick drafts to explore concepts, then a higher-quality setting when you're ready for export.
-
Consistent framing – For social posts, ads, and thumbnails, consistent composition is crucial. Nano Banana 2's aspect ratio options keep images aligned with your template sizes.
-
Seed control – Reusing a seed lets you iterate on the same core composition while changing colors, text, or style.
This is the detail that changes the outcome: once you lock in a seed and aspect ratio, you stop "starting over" with every generation and start refining like a real art director.
How Nano Banana 2 Works: Core Principles Explained
Under the hood, Nano Banana 2 uses a diffusion workflow similar to other modern models (think SDXL-level capabilities): it starts with random noise and gradually denoises toward an image that matches your prompt.
In plain language:
-
Your prompt is converted into an internal representation (embeddings).
-
The model repeatedly refines noisy pixels using these embeddings as guidance.
-
The guidance strength and number of steps shape how literally it follows your words and how detailed the output becomes.
A helpful metaphor: adjusting the guidance scale is like tightening the focus ring on a manual camera lens. Too loose, and the image drifts off-prompt: too tight, and things start to look rigid or overprocessed.
Nano Banana 2 simply exposes the most impactful dials and hides the obscure ones. If you want a deeper technical breakdown, you can check this website.
Nano Banana 2 Tutorial: How to Use the Tool Step-by-Step
Here's the fast path from zero to a usable image.
- Define your outcome
Before touching the UI, decide:
-
Where the image will live (Instagram post, website hero, YouTube thumbnail).
-
Whether it must include readable text.
- Set up the canvas
-
Choose Aspect Ratio (for example, 16:9 for YouTube, 1:1 for Instagram).
-
Pick a Mode: Photo, Illustration, or Logo/Icon depending on your use case.
- Write a clear prompt
Focus on subject, setting, lighting, and style:
Ultra-realistic portrait of a young designer working at a laptop, warm window light, shallow depth of field, muted color palette, cinematic.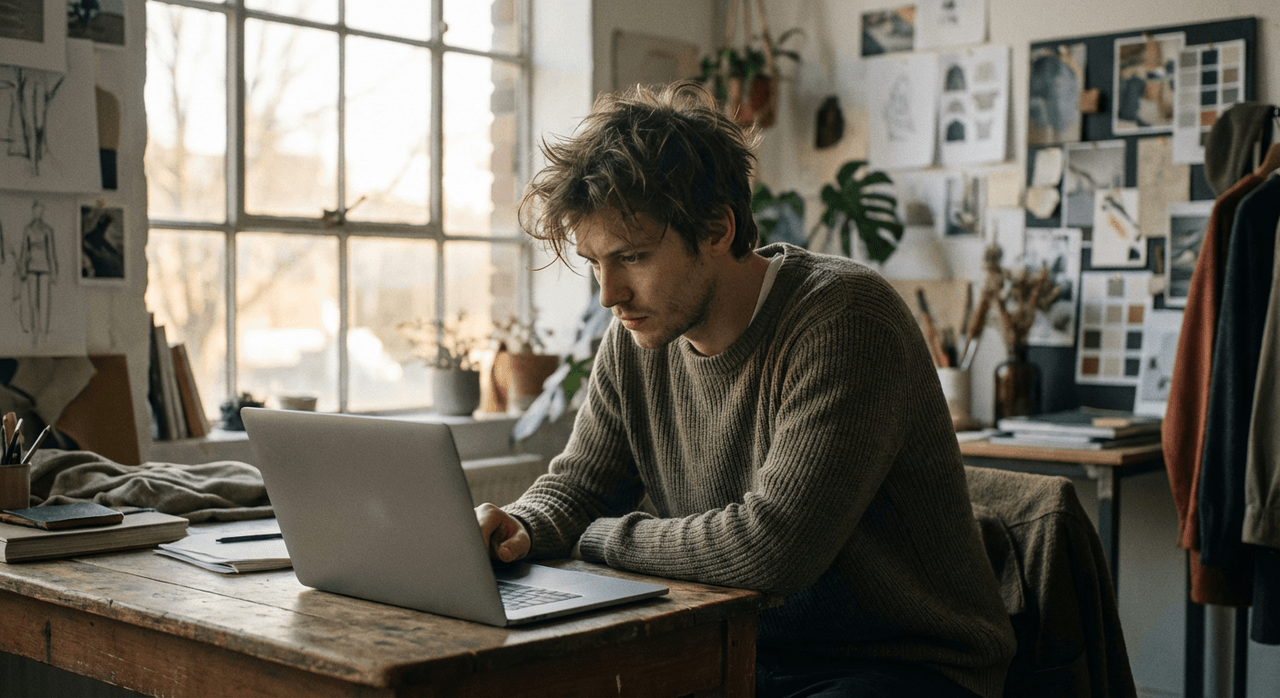
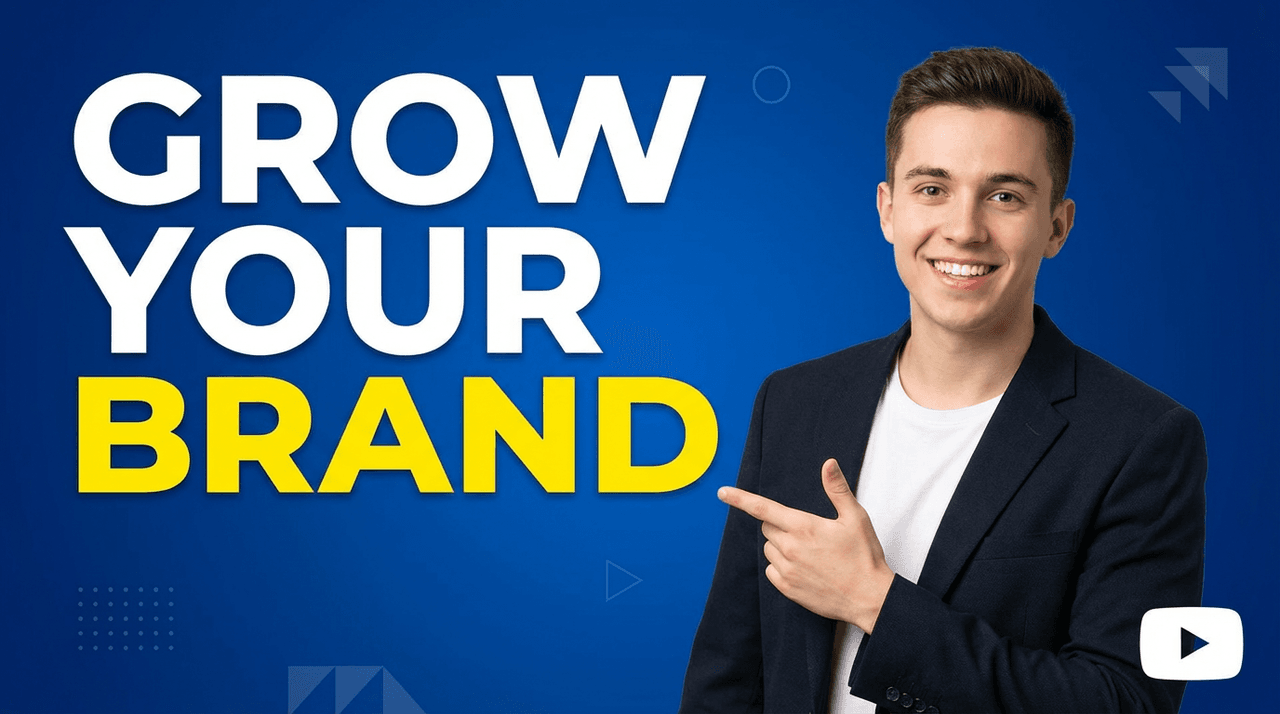
- (Optional) Add exact text
If you need text in the image:
YouTube thumbnail of a smiling creator, bold title text: "GROW YOUR BRAND", clean background, high contrast, modern.
- Adjust core settings
-
Set Quality to Draft for exploration.
-
Keep Guidance at a moderate default (for example, 7–9).
-
Set Steps to something balanced like 25–35.
- Generate and iterate
-
Click Generate.
-
If composition is good but style is off, tweak adjectives only.
-
If composition is bad, change seed or aspect ratio, then regenerate.
Nano Banana 2 Interface Settings: Quality, Styles, and Model Modes
Once you're comfortable with the basics, a few interface areas matter most for quality vs. speed.
Quality Presets
-
Draft/Low – Fast, ideal for brainstorming many ideas.
-
Standard – Good mix of speed and detail for social-ready images.
-
High – Slower, but best when you care about skin texture, fabric detail, or subtle lighting.
Example baseline configuration:
Quality: Standard
Steps: 30
Guidance: 8
Seed: Random (lock once you like the composition)
Mode: Photo / Illustration / Logo-Icon (choose one)
Style / Mode Options
-
Photo – Uses stronger realism priors: proper shadows, depth, and textures.
-
Illustration – Softer lines, more stylized, good for branding assets.
-
Logo / Icon – Bolder shapes and higher contrast, tuned for graphic outputs.
Model Modes for Text
If Nano Banana 2 exposes a text-enhanced toggle or model version (for example, Text+), I recommend enabling it whenever your design includes:
-
Book or magazine covers
-
App UI mockups with buttons/labels
-
Thumbnails with big titles
Counter-intuitively, I found that simplifying the number of words in your in-image text often improves spelling and layout more than cranking any setting to the maximum.
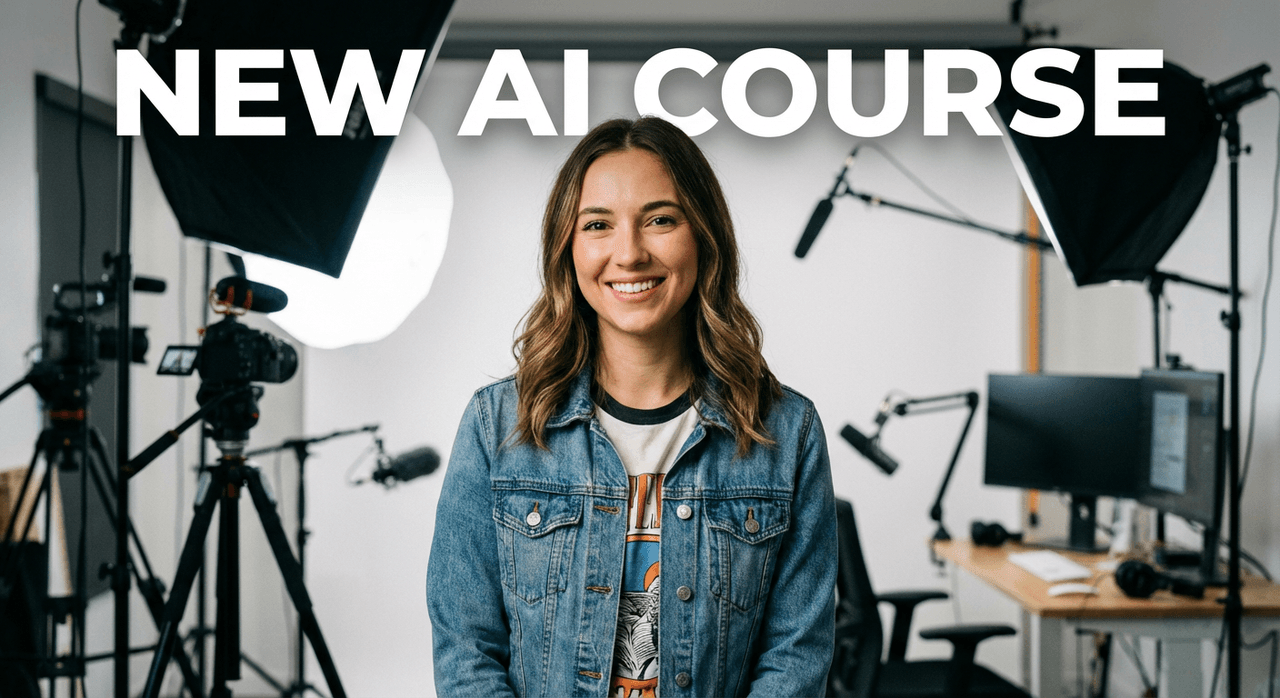
First Image Tutorial: Create Your First Image with Nano Banana 2
Let's walk through a concrete mini-project: a square Instagram post announcing a new course.
- Set canvas and mode
-
Aspect Ratio: 1:1
-
Mode: Photo (for a realistic creator shot)
-
Quality: Standard
- Write the base prompt
Portrait of a confident content creator standing in a bright studio with cameras and lights in the background, soft diffused lighting, modern, vibrant but not oversaturated.
- Add title text requirement
Add bold white text at the top: "NEW AI COURSE" in a clean sans serif font.
- Set parameters
Guidance: 8
Steps: 30
Seed: Random
- Generate and refine
-
Click Generate.
-
If the text is messy, reduce the number of words (for example, try just
"AI COURSE"). -
If the face looks off, keep the prompt but change seed and regenerate.
Once you're happy, switch Quality to High, keep the same seed and prompt, and generate a final version for export.
Nano Banana 2 Prompt Examples & Use Cases
Below are some starting points I've used and adapted. Treat them as scaffolding, not scripture.
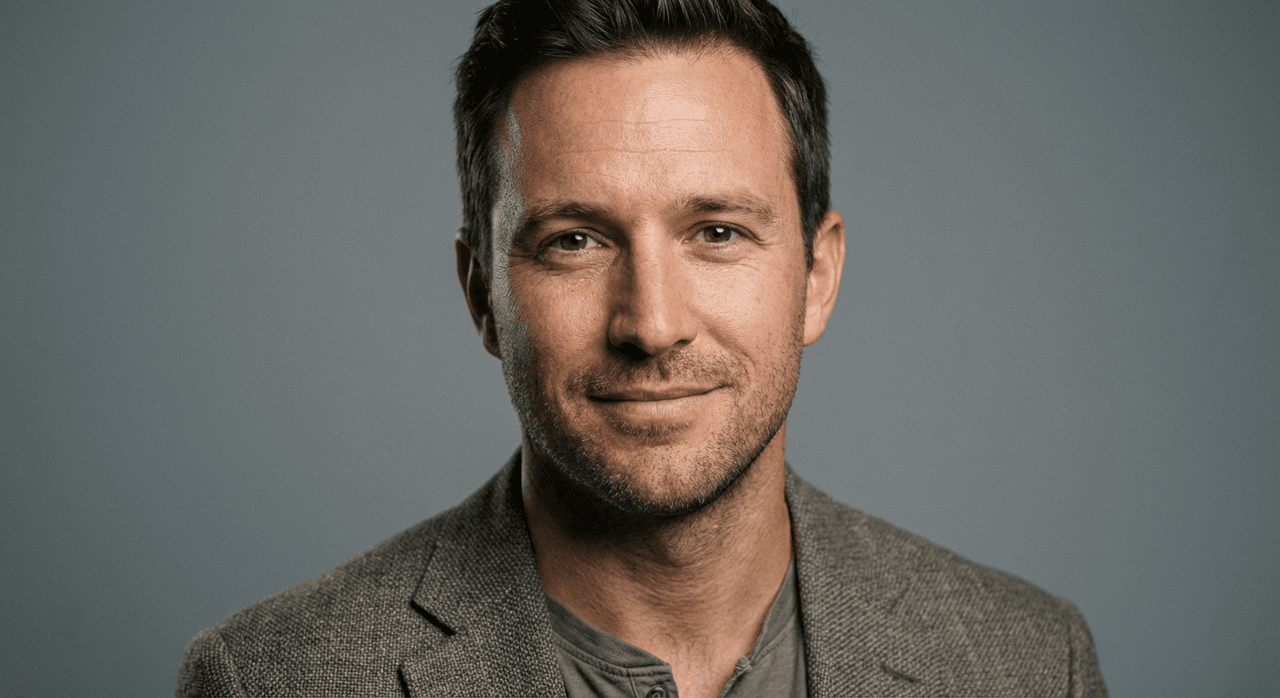
Creating Realistic Portraits with Nano Banana 2
Goal: LinkedIn or website headshot-style images.
Ultra-detailed headshot of a mid-30s marketer, neutral background, soft studio lighting, subtle depth of field, professional yet approachable expression, natural skin texture, 50mm lens look.
Tips:
-
Keep clothing simple: "plain dark blazer, simple shirt".
-
Avoid conflicting style words like "cartoon" or "comic" in portrait prompts.
-
If faces distort, lower Guidance slightly or change seed.
Designing Logos and Icons in Nano Banana 2
Logo work is where most diffusion tools struggle with vector-level precision. Nano Banana 2 can be great for concept directions, but not final SVGs.
Flat minimalist logo icon of a banana-shaped rocket, yellow and black palette, thick clean lines, centered on a white background, suitable for an app icon.
![]()
Who this is not for:
- If you need perfectly editable vector logos, you're better off using something like Illustrator or Figma and treating Nano Banana 2 as a sketch generator rather than a final delivery tool.
For icons, keep prompts short and avoid long text, the model performs better when it can focus on a single symbol.
Tips for Better Results with Nano Banana 2
A few hard-earned lessons that consistently improved my outputs:
-
Write for a collaborator, not a genie. Be specific, but not novel-length. One or two clean sentences beat a paragraph of conflicting ideas.
-
Iterate systematically. Change one thing at a time (seed, guidance, wording) so you can tell what actually helped.
-
Lock seeds for versioning. Once you like the layout, lock the seed and only adjust colors, text, or minor style details.
-
Use simple, bold text. Short phrases in all caps tend to render much more cleanly than mixed-case sentences.
Ethical considerations: I always label AI-generated visuals when they're used in client-facing materials, so viewers aren't misled. I also avoid prompts that stereotype people or cultures, and I base likenesses only on people who've consented (or on clearly fictional characters). For commercial projects, I treat Nano Banana 2 outputs like stock images: I verify licensing terms in the official docs and avoid copying specific existing brands, logos, or copyrighted characters. This keeps my workflow safer, both ethically and legally.
If you want to go deeper into prompt refinement techniques, I recommend pairing Nano Banana 2 with structured prompt systems and the developer tutorial.
Post your results and leave your comments below so I can see what you create and how you're adapting these settings to your own projects.
Nano Banana 2 Guide – Frequently Asked Questions
What is Nano Banana 2 and who is this Nano Banana 2 guide for?
Nano Banana 2 is a lightweight, web-based AI image generator built on modern diffusion models. It’s designed for creators, solo entrepreneurs, and small teams who need fast, photorealistic or graphic-style images without complex setup. This Nano Banana 2 guide is ideal for beginners and intermediate users wanting practical, step‑by‑step workflows.
How do I get the best results from Nano Banana 2 for social media images?
Start by defining where the image will be used (Instagram, YouTube, website). Set the correct aspect ratio, choose the right mode (Photo, Illustration, or Logo/Icon), then write a clear two‑sentence prompt. Begin on Draft or Standard quality, use guidance around 7–9, and lock a seed once you like the composition.
Can Nano Banana 2 create readable text in thumbnails and graphic designs?
Yes. Nano Banana 2 includes text‑aware rendering and often produces clearer titles and labels than older models when you specify exact wording in the prompt. Keep phrases short and bold, use all caps when possible, and enable any text‑enhanced mode (such as a “Text+” model) for covers, UI mockups, or thumbnails.
Can I use Nano Banana 2 images for commercial projects?
In many workflows, Nano Banana 2 images can be used like stock photos for commercial projects, but you must confirm this in the official license terms. Always avoid copying real logos, copyrighted characters, or recognizable people without consent, and clearly label AI‑generated visuals in client‑facing materials to stay transparent and compliant.
How does Nano Banana 2 compare to other AI image generators like Midjourney or DALL·E?
Nano Banana 2 focuses on a streamlined web UI with a few powerful controls, strong text rendering, and practical presets for photos, illustrations, and logos. While tools like Midjourney or DALL·E may offer broader stylistic variety, Nano Banana 2 is optimized for speed, consistency, and ease of use for everyday content production.